


4 Steps to Channel the Past
A Retro TV Effect in Photoshop

To kick off the first post of the year I'm going to share a mini tutorial – the first of many where I'll go step by step on how I make designs or effects that I use in my work. These are intended to be fairly short, fun and informative.
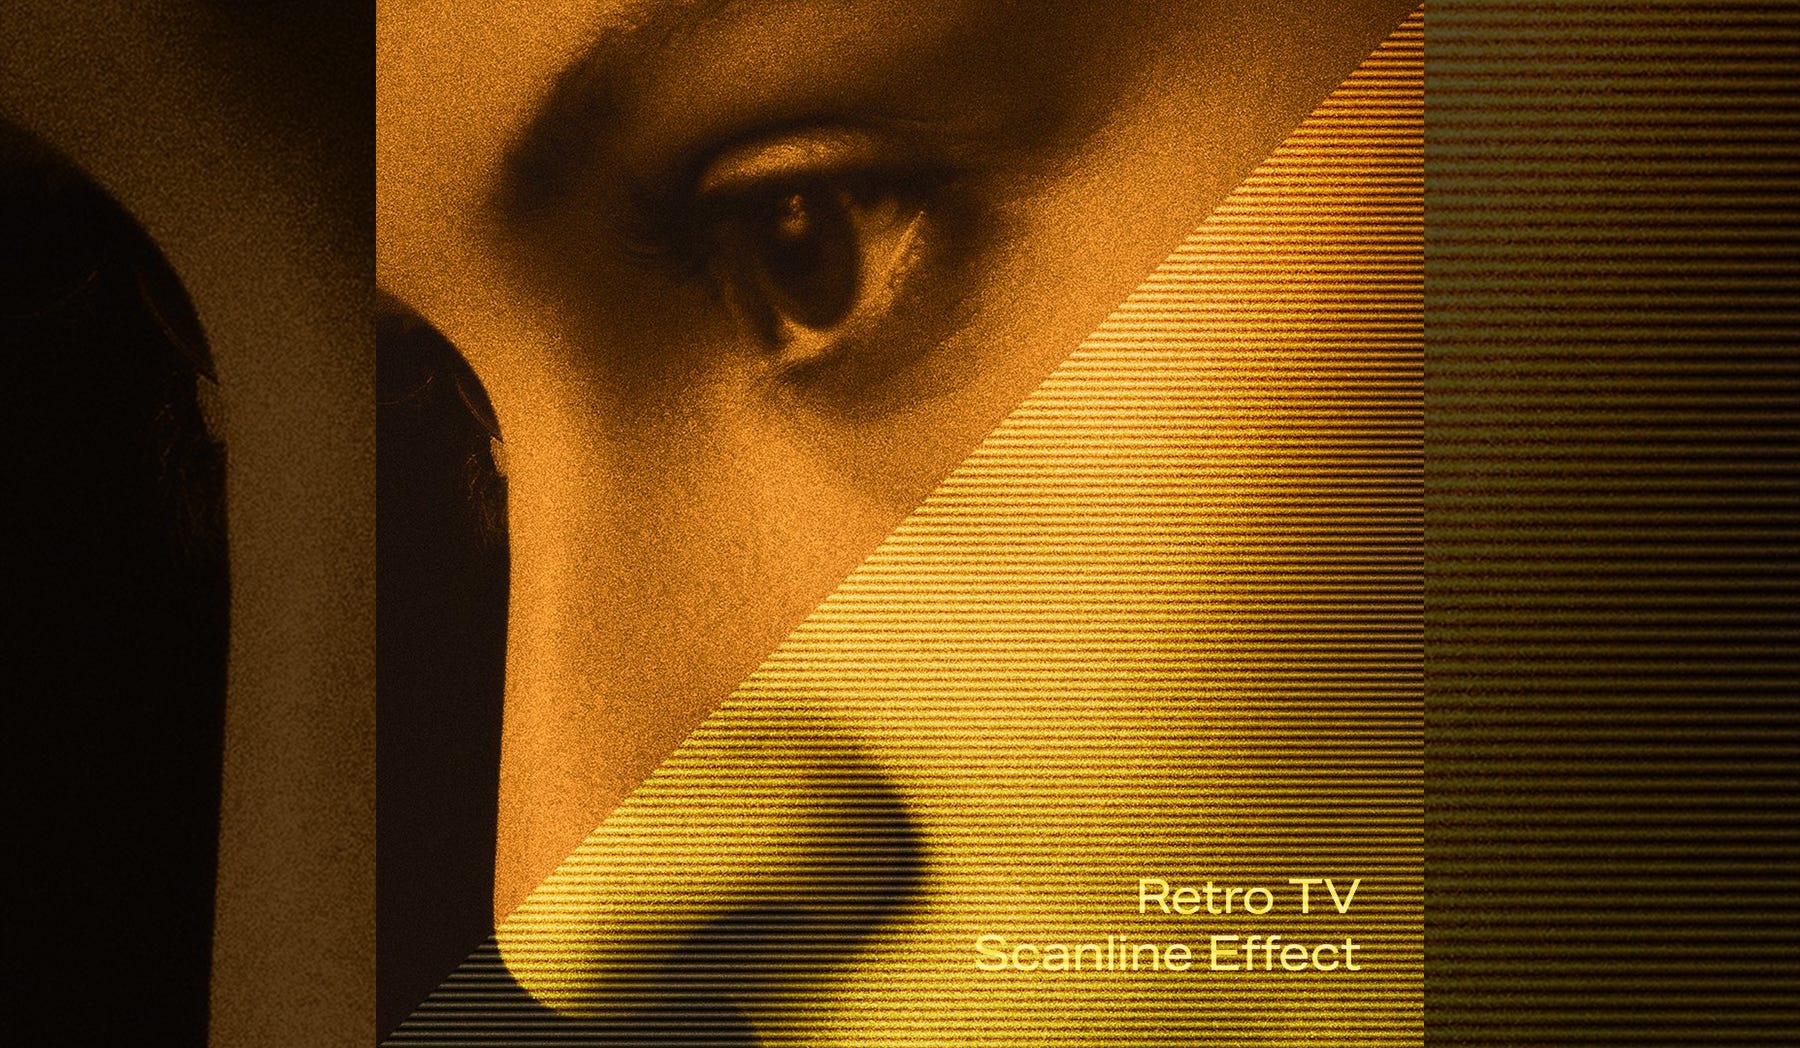
In this one I'm going to show you how I made this retro television look. It's a throwback effect to make any image look like an old TV reproduction.
Let's get started.
Step 1
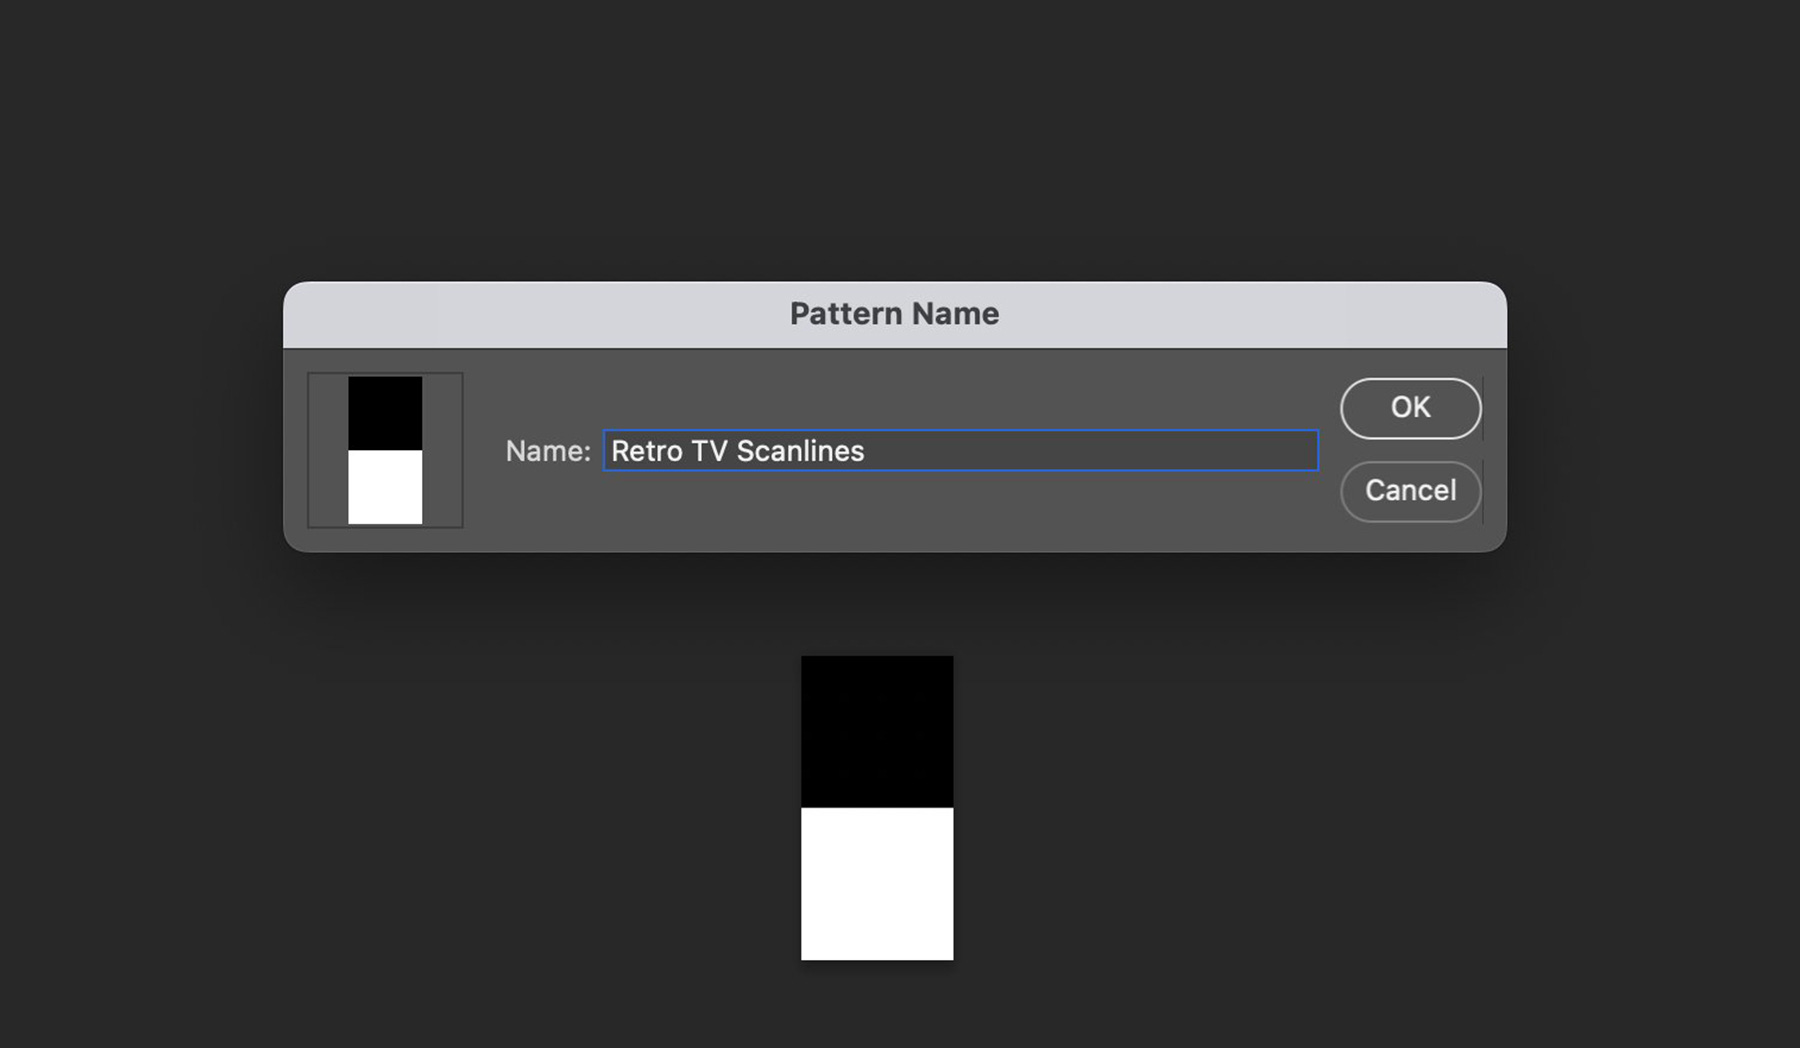
Open up Photoshop and create a new file that is 1px wide by 2px in height at 72 dpi. Zoom in on your canvas. It's gonna be tiny.
Fill half the canvas with black using the rectangular marquee tool. The remaining should be white. (Or vice versa.)

Step 2
Go to Edit > Define Pattern and name it something like Retro TV Scanlines.
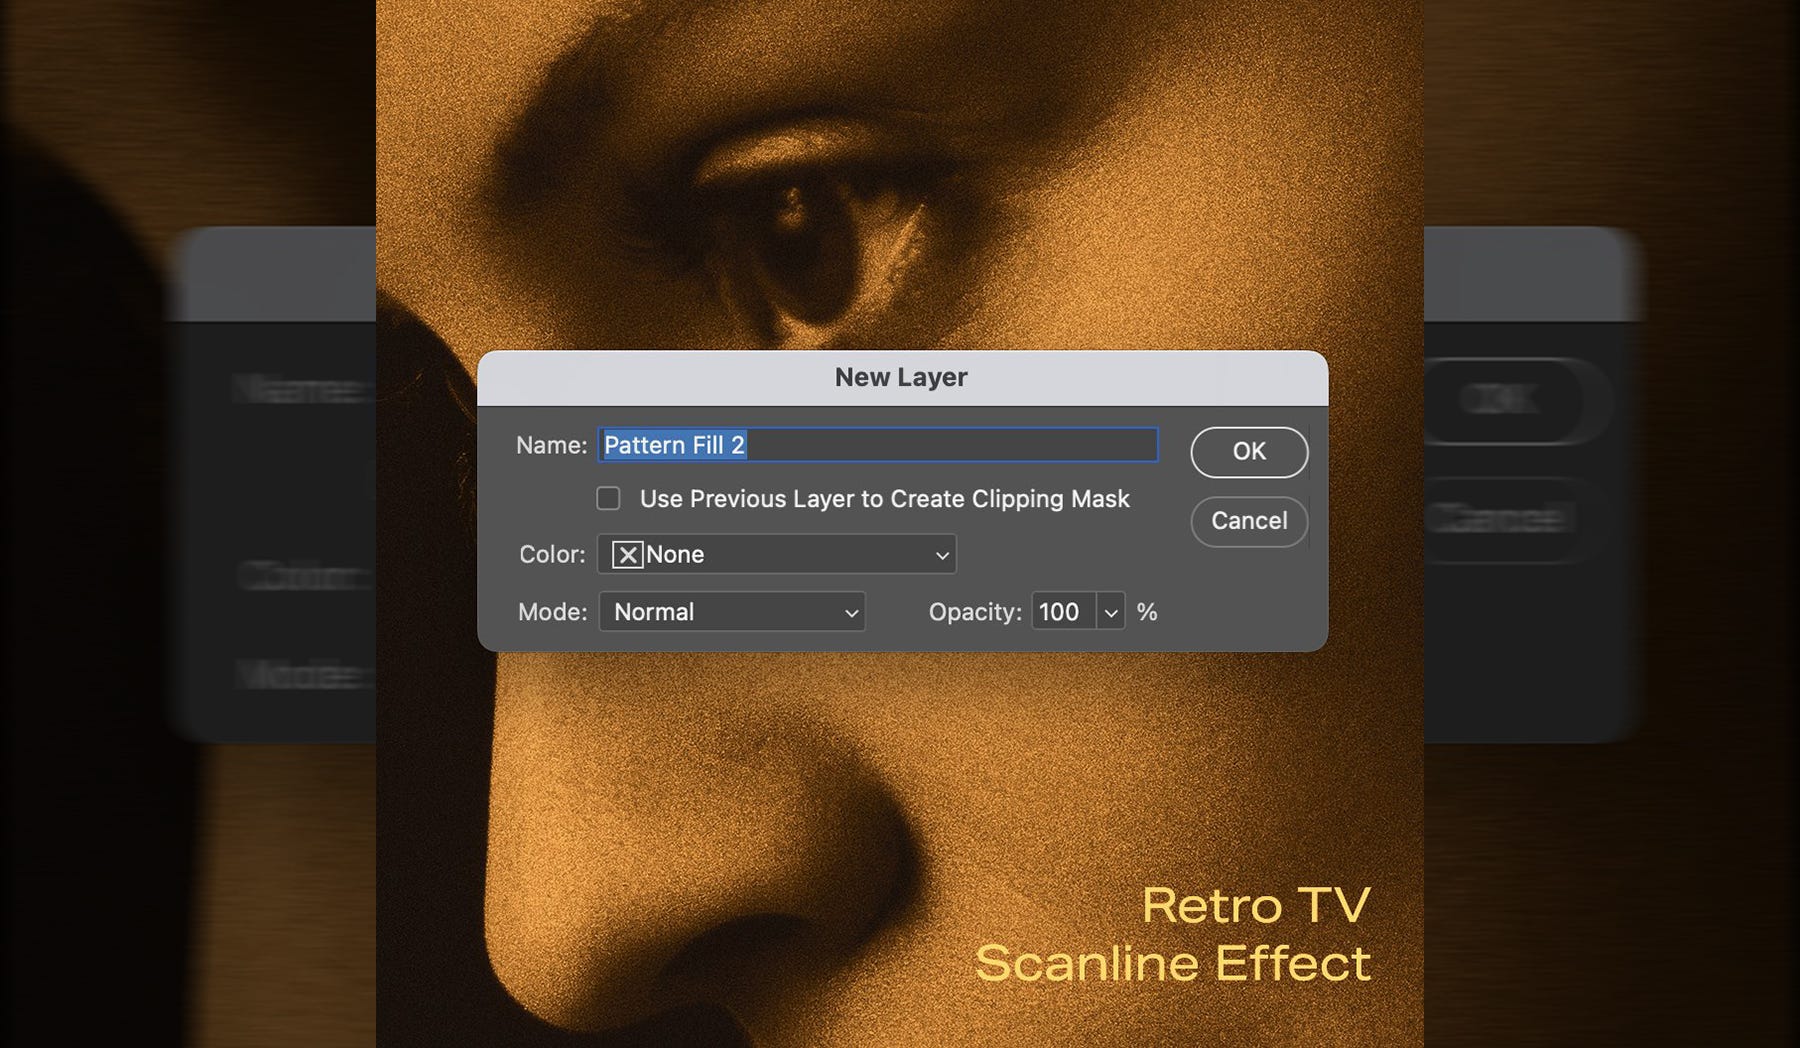
Step 3
Open up your photo and go to Layer > New Fill Layer > Pattern. Name the pattern layer you are adding and click OK.
Step 4
Time to do some fine tuning. Adjust the % scale of the pattern by double clicking it. I've bumped mine up to 500. Then, explore the blending modes. I've found "Soft Light" creates a great result in this instance.
The effect of the lines is instantly apparent. Take it further by adding textures, experimenting with color palettes, or applying other creative effects.
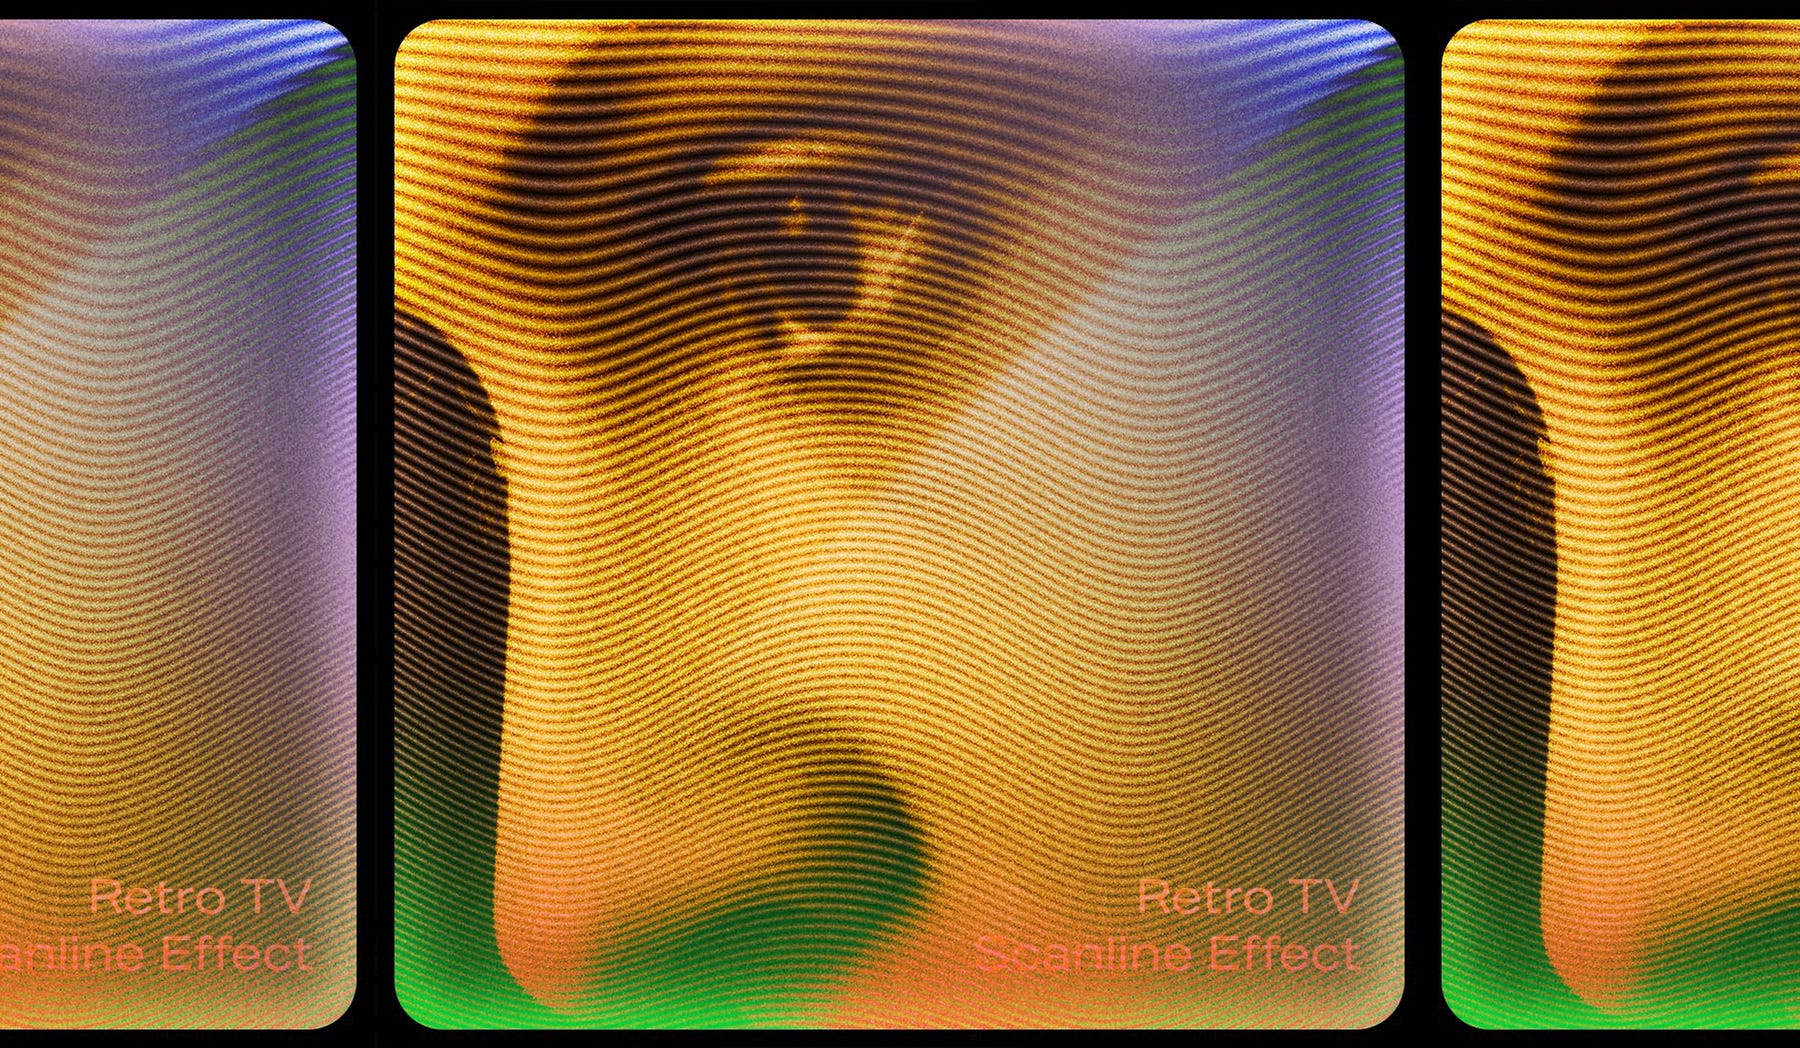
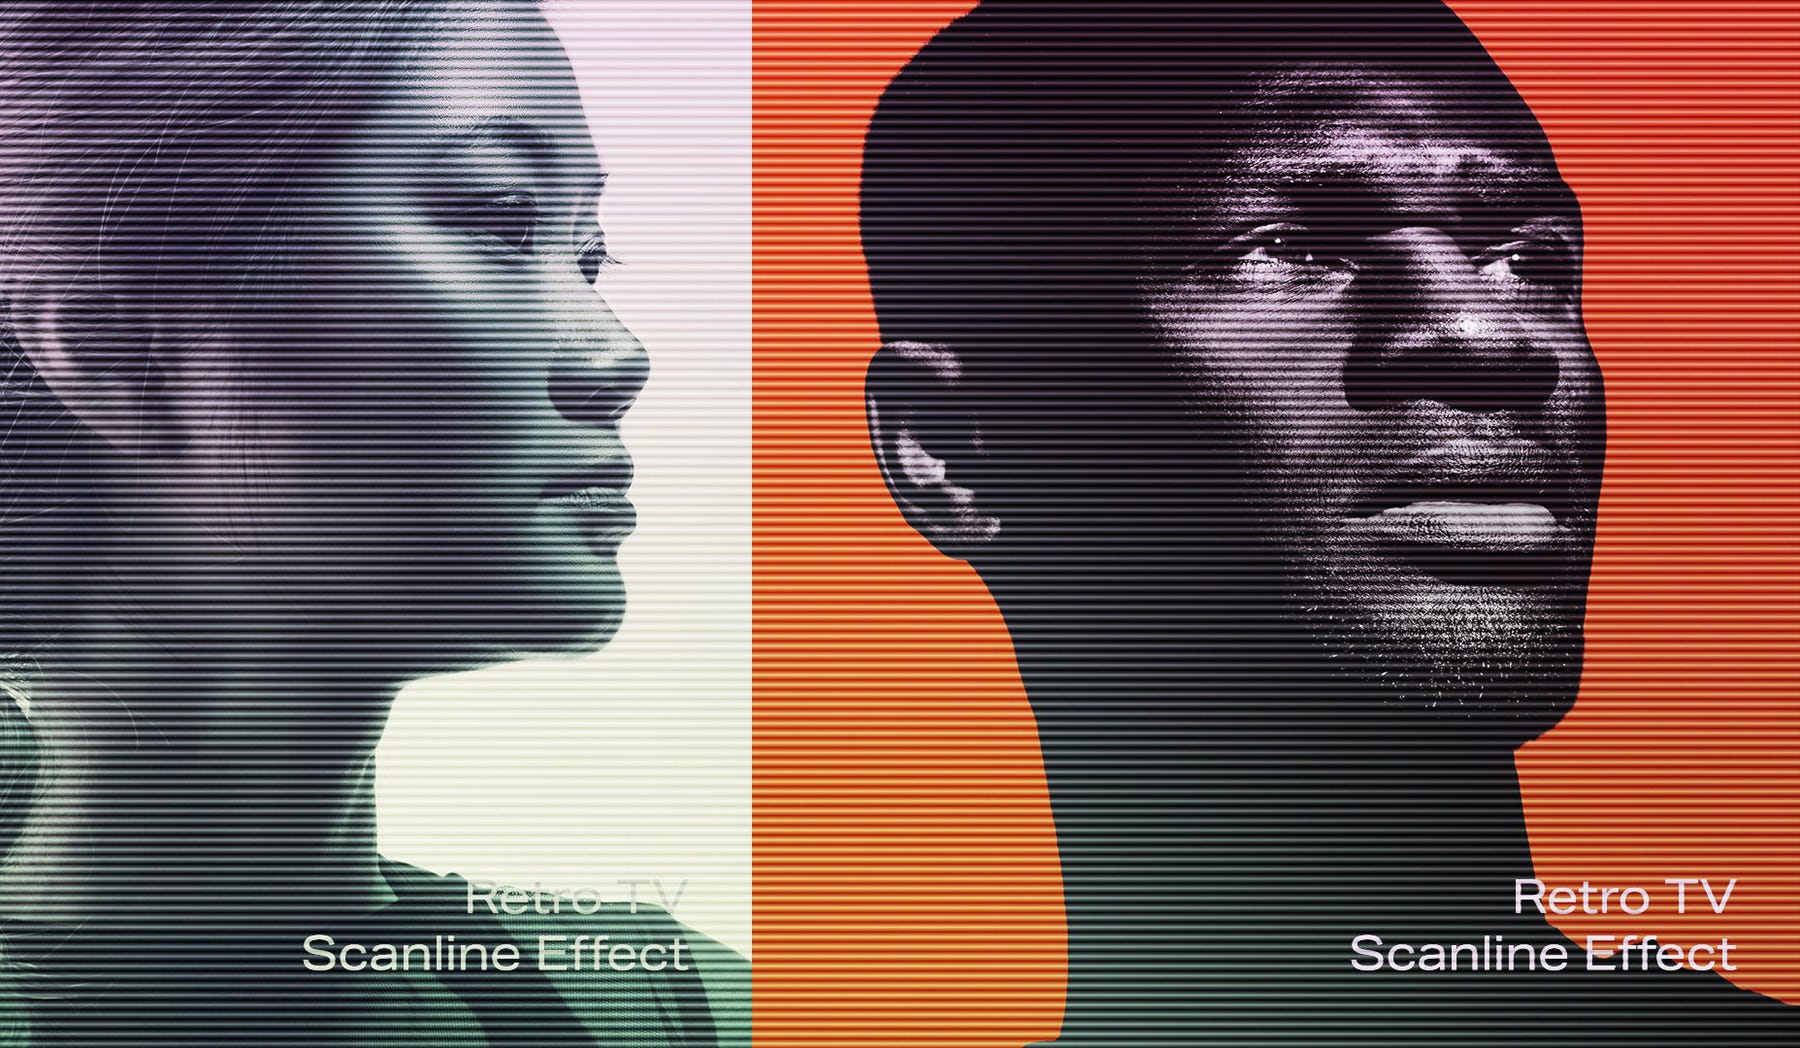
Above you can see where I refined the look. I experimented with blending modes and added smoother color transitions between layers. Then, I added another variation by warping the pattern. This makes the design more dynamic. Don't be afraid to push the boundaries and see where your imagination takes you.


And there you have it – a touch of vintage magic for your designs! I hope this tutorial brought back some fond memories of classic television. Now, channel that nostalgia and create something special. I'm excited to see what you can do with these effects.
As always, I thank you for stopping by. Until next time.
so freaking simple and so effective man -- more of this please!
This is sick, dude! So damn simple and useful. Can't wait to try it out.